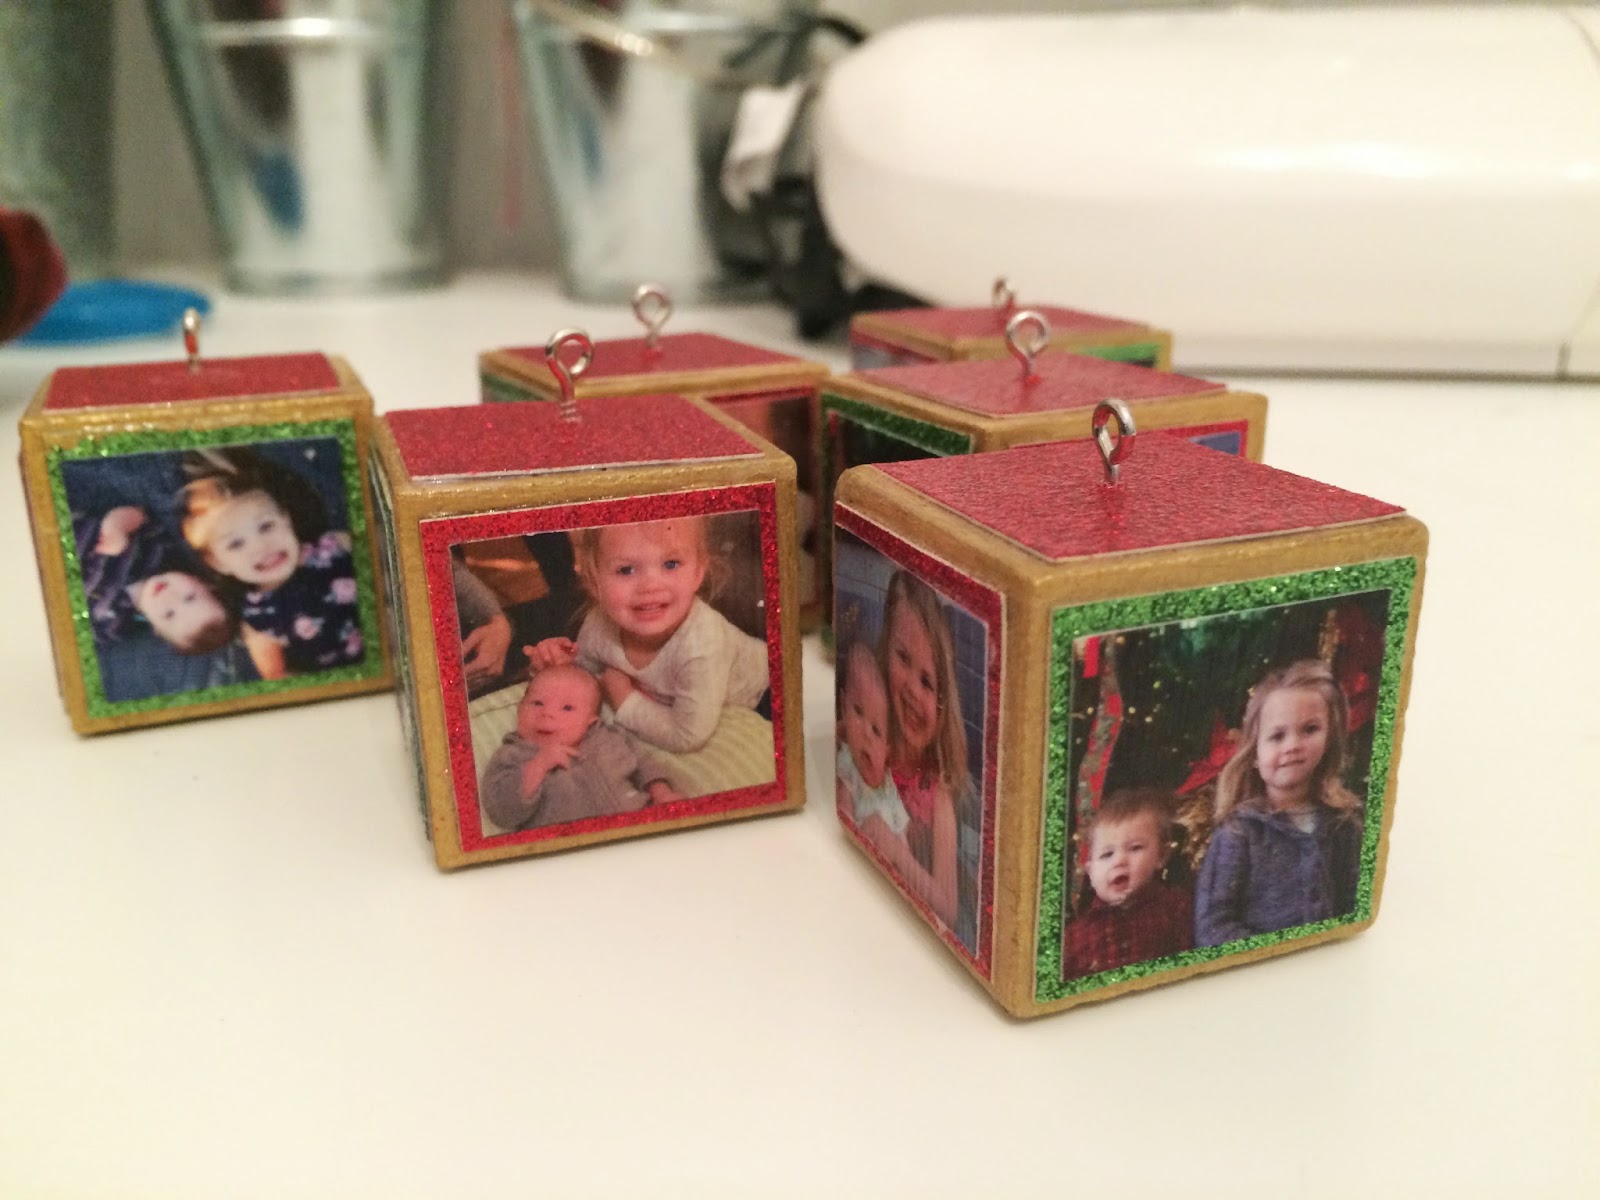
Need a handmade gift for friends or family? An ornament with pictures is the perfect gift!
Supplies You'll Need:
- Mod Podge
- paper (will go underneath the pictures)
- 1 in square pictures
- unfinished wood blocks
- screws
- string
- scissors
- paint
- paintbrush
- needle nose pliers
STEP 1 - choose your pictures and crop them into 1 in squares. I cropped mine in MS Word. I then took my Word.doc to Kinkos via a flash drive and had them print an 8x10 of all my pictures on glossy cardstock.
STEP 2 - paint your wood blocks in the color of your liking. I chose gold for mine.
STEP 3 - cut the paper that will go underneath your photo. (I chose green and red sparkle cardstock paper from Hobby Lobby). I cut mine slightly less than the blocks so that the gold paint would show through.
STEP 4 - Mod Podge time! Apply Mod Podge on the paper and glue to the wood block. You'll want to add weight to the paper/block so the paper doesn't curl up. I turned mine face down on the table which was plenty of weight. I did one piece of paper at a time until it was dry.
STEP 5 - Mod Podge picture to the paper. Same method as above..apply weight.
STEP 6 - Mod Podge over the picture. Don't worry...it dries clear!
STEP 7 - screw in eye screw. I made an initial hole with a push pin to get the screw started then I screwed in the rest by hand. Be careful not to snap your eye screw...I did that twice. Once you can't twist it anymore, use pliers to finish (this is where it may snap so be careful!)
STEP 8 - tie a string through the eye screw.
STEP 9 - Hang on a tree or gift to friends/family!


No comments:
Post a Comment